Making a Fixture Bed for the Modela
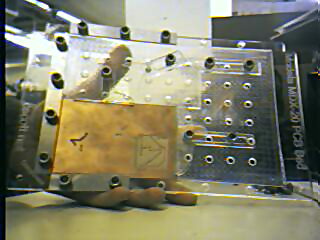
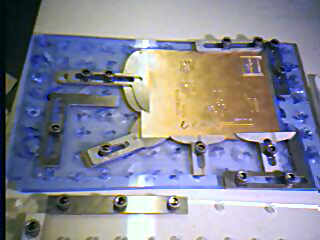 The biggest challenges in making printed circuit boards on the Modela
are a) aligning the solder and component sides of the board, and
b) keeping the board flat. This page will show you how to make
a fixture bed for your Modela (a prototype is pictured on the right)
to solve both these problems.
The biggest challenges in making printed circuit boards on the Modela
are a) aligning the solder and component sides of the board, and
b) keeping the board flat. This page will show you how to make
a fixture bed for your Modela (a prototype is pictured on the right)
to solve both these problems.
The basic steps are:
- Cut out the outline
(modela-pcb-bed-3.cdr)
on the laser cutter.
- Cut out some clamps
(workholders2.3dm) on the waterjet.
- Mount the bed and send
bed.prn
to the Modela to mill out the alignment stops.
Read on for the details!
Cutting the bed
 The board basic board shape was drawn in
Rhinoceros.
You can download the Rhino-format file,
modela-pcb-bed-3.3dm,
or the standard DXF file,
modela-pcb-bed-3.dxf.
I cut the piece out of 1/4" stock using the laser cutter and
this CorelDraw file:
modela-pcb-bed-3.cdr.
The CorelDraw file has been offset .005" using my
offsetting
utility. The measured tool kerf in this material for these
tool settings is elliptical, .013" on the X and .008" on the Y;
we're offsetting as if the kerf were circular with a radius
of .005". It's close enough; this doesn't have to be
super-accurate.
The board basic board shape was drawn in
Rhinoceros.
You can download the Rhino-format file,
modela-pcb-bed-3.3dm,
or the standard DXF file,
modela-pcb-bed-3.dxf.
I cut the piece out of 1/4" stock using the laser cutter and
this CorelDraw file:
modela-pcb-bed-3.cdr.
The CorelDraw file has been offset .005" using my
offsetting
utility. The measured tool kerf in this material for these
tool settings is elliptical, .013" on the X and .008" on the Y;
we're offsetting as if the kerf were circular with a radius
of .005". It's close enough; this doesn't have to be
super-accurate.
On the laser cutter, cut with paper on, and use these settings:
| Color | Mode | Power | Speed | PPI |
Purpose |
|---|
| Black | VECT | 100% | 2.5% | 600 PPI |
outline cut |
| Red | VECT | 100% | 50% |
600 | text etch |
You want to use fairly thick stock to protect the Modela when
you're drilling the PCB. The limiting factor is the length of the
thumbscrews used to secure the bed to the Modela. The stock Modela
comes with thumbscrews just long enough to secure a .25" bed.
If you can find longer M4 screws, you can probably use thicker stock
to make the bed. Don't use stock thinner than about 3/16", as we're
make a 1/16" cutout in the center of the piece, and we still want
enough thread left on the other side to put our clamp screws into.
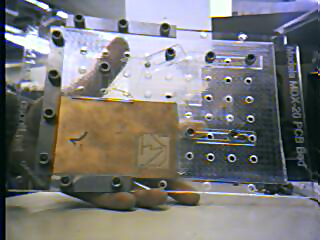
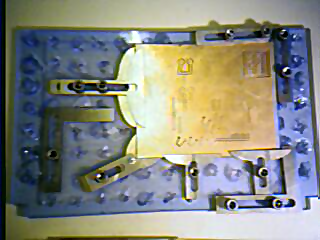
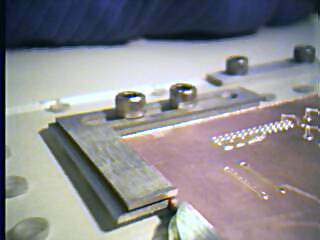
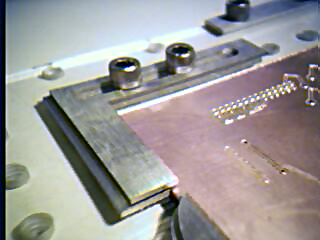
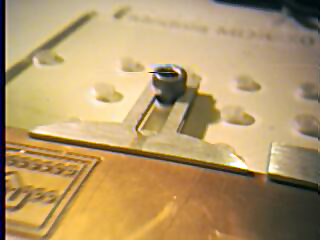
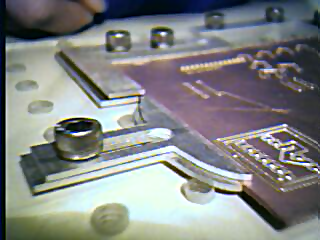
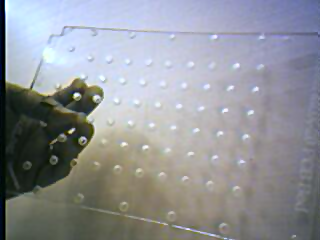 The result is shown on the right. Now you need to get a 1/4x20 NC tap
and thread all 68 holes (fun!). The small hole by the word
"Component" and the small hole below "PCB Bed" don't need to be
tapped; they're mounting holes. The Modela has M4 thumbscrews that go
through these. (Look at the CAD drawing above to find these small
mounting holes; you can't really see them in the picture to the right.)
The result is shown on the right. Now you need to get a 1/4x20 NC tap
and thread all 68 holes (fun!). The small hole by the word
"Component" and the small hole below "PCB Bed" don't need to be
tapped; they're mounting holes. The Modela has M4 thumbscrews that go
through these. (Look at the CAD drawing above to find these small
mounting holes; you can't really see them in the picture to the right.)
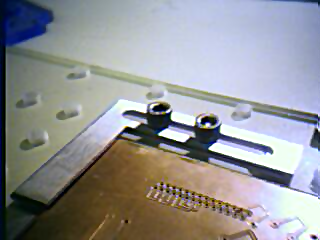
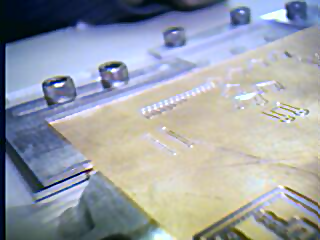
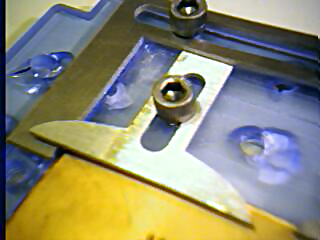
Making clamps
There are several different clamp designs, as shown below. All are
cut from 1/16" aluminum; most require two identical pieces to be cut,
a top and a bottom.
These shapes were designed in Rhino as well; the source files
are workholders2.3dm (for
most of the clamp designs) and
side-clamp.3dm (for the long
thin pieces that form the origin clamps, pictured at right.
 You can download OMAX Layout files for making these shapes on the
waterjet, as well:
You can download OMAX Layout files for making these shapes on the
waterjet, as well:
The workholders2.cdr file is a
CorelDraw 10 file for making the clamps out of 1/16" acrylic on
the laser cutter. The CorelDraw file has already been offset
.005" on each side to compensate for the .010" cutting kerf of
the laser cutter. Leave the paper on the acrylic sheet and use these
settings when cutting the parts:
| Color | Mode | Power | Speed | PPI |
|---|
| Black | VECT | 100% | 8% | 600 PPI |
The acrylic clamps will not be as rigid as if you made them out of
aluminum or steel, but on the other hand it is a lot easier to make
small parts on the laser cutter — you don't have to worry about
them shifting and sinking to the bottom of the waterjet's bed.
Milling the bed
 Now you need to mill out the bed so that the top, bottom, and left
side correspond to known absolute locations in the coordinate space
of your modela. This will also make the bed surface perfectly
flat (at least "flat" as defined by your Modela). Here are the steps:
Now you need to mill out the bed so that the top, bottom, and left
side correspond to known absolute locations in the coordinate space
of your modela. This will also make the bed surface perfectly
flat (at least "flat" as defined by your Modela). Here are the steps:
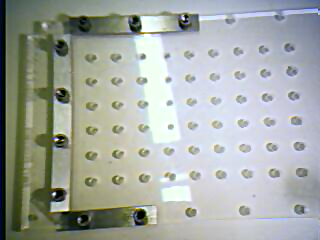
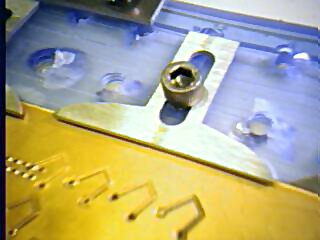
- Mount the partially-finished bed in the Modela. The thumbscrews
go through the small untapped holes.
- Put a 1/8" end mill in the Modela.
- Download and save the
home.prn
file. Download the
PRNter
utility and unzip it. Use PRNter to "print" home.prn to the
"Roland MODELA MDX-20" device. This will move the Modela head over
to the "home" position above the far left corner of the board.
- Use the up/down buttons on the front to lower the mill so its
just at the surface of the bed. You may want to use an allen wrench
to loosen the bit and let it drop to touch the bed. (Be careful of
setting the Z to the extreme end of the Z range of the device.)
- Download and save the
bed.prn
file. Use PRNter to send it to the Modela. The Modela will start
milling the bed. It will take quite a while.
That's it!
Note that the Modela bed is going to be specific to the particular
Modela machine which you used to perform this final milling step.
If you use this bed with a different Modela machine, it is likely
that the top/bottom/side positions will be slightly off and
double-sided boards are likely to be misaligned.
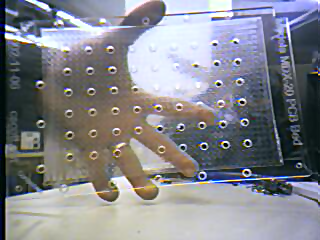
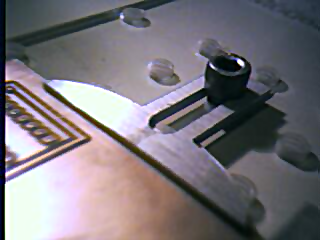
Clamping down a PCB
On the right is a 7M movie showing how to use the origin clamps,
a small flat clamp, and an ell clamp to mount a PCB blank on the
bed.
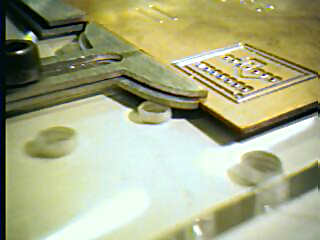
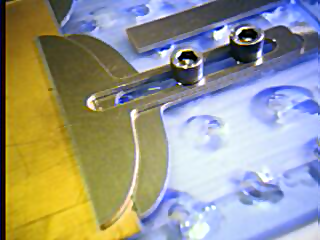
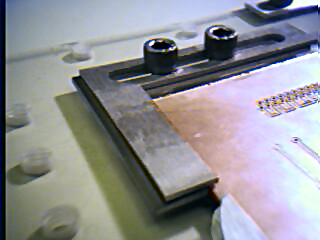
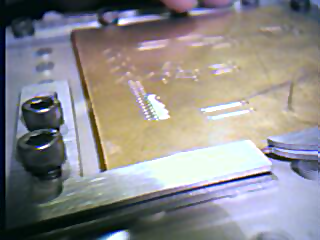
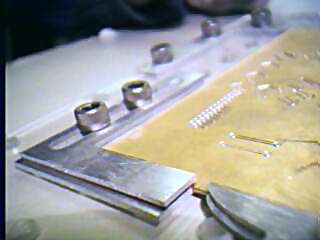
More pictures of the fixture bed and clamps
Copyright © 2002 C. Scott Ananian.
Verbatim copying and distribution is permitted in any medium,
provided this notice is preserved.
|
cscott cscott.net cscott.net
|
 Small flat clamp
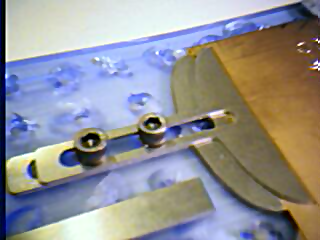 Large flat clamp
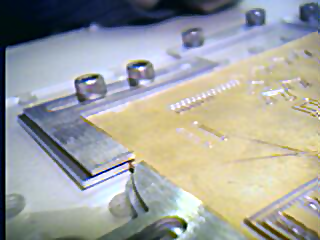 Ell clamp
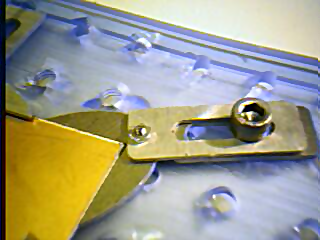 Pac-man clamp
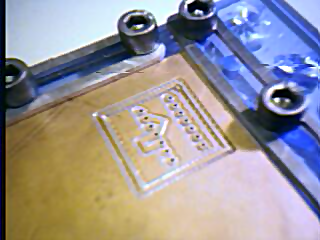 Origin clamps


